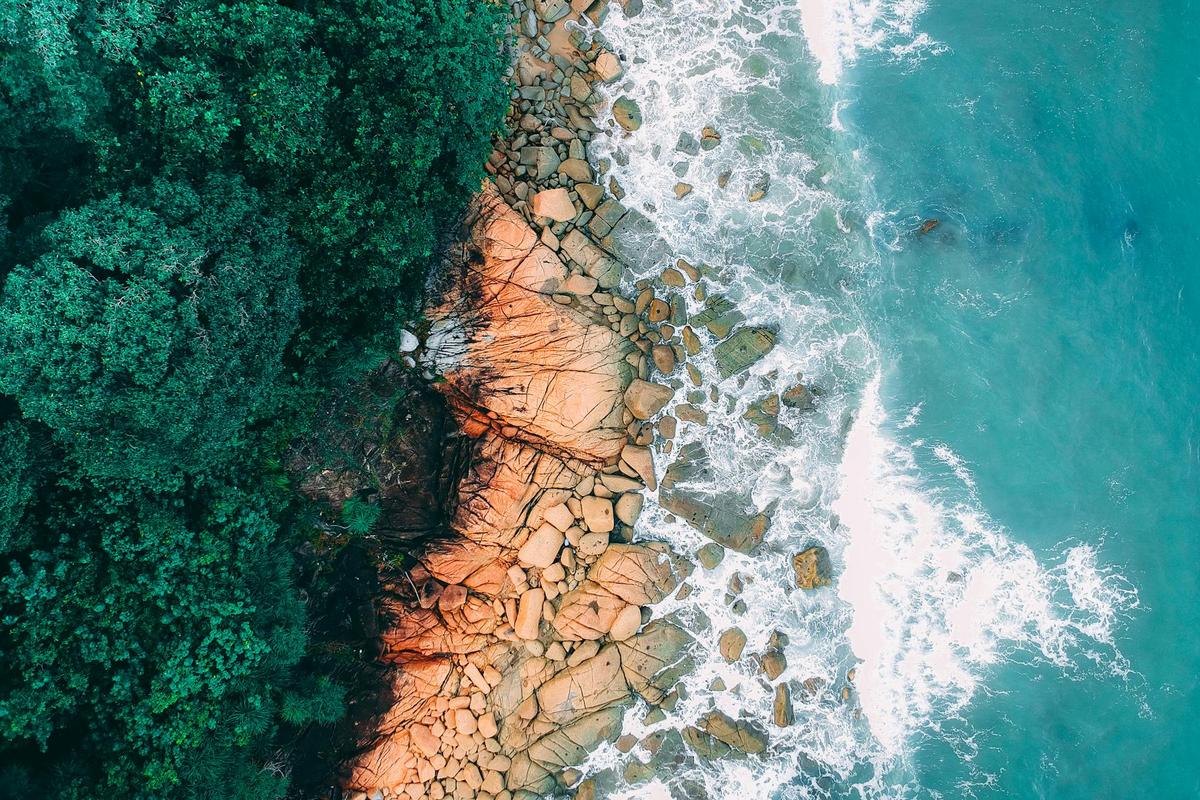
Editing Drone Photos: Software and Techniques for Breathtaking Results
Drones have revolutionized the way we capture images, offering stunning aerial perspectives that were once reserved for professionals with helicopters. However, capturing a great shot is only half the battle; editing those drone photos is where the magic truly happens.
Unveiling the Art of Editing Drone Photos
Editing drone photos involves more than just adjusting brightness or contrast. It’s about enhancing the unique perspective drones offer and highlighting the intricate details that can often be lost in the vastness of an aerial shot.
Software Options for Editing
There are several software options available for editing drone photos, each with its strengths.
| Software | Features | Pricing |
|---|---|---|
| Adobe Lightroom | Comprehensive editing tools, presets, cloud sync | Subscription-based |
| Affinity Photo | One-time purchase, professional-grade tools | One-time fee |
| Capture One | Advanced color grading, tethering support | Subscription or one-time purchase |
| Skylum Luminar | AI-enhanced editing, user-friendly interface | One-time fee |
| GIMP | Open-source, extensive plugins | Free |
| Darktable | Open-source, non-destructive editing | Free |
| Photoshop | Advanced editing capabilities | Subscription-based |
| DxO PhotoLab | Noise reduction, optical corrections | Subscription or one-time purchase |
“Editing is an art form that transforms a good photo into a great one,” says renowned photographer Alex Turner, emphasizing the importance of post-processing.
Techniques for Breathtaking Results
Editing drone photos requires a unique approach compared to traditional photography. Here are some essential techniques:
- Exposure Correction: Adjusting exposure is crucial due to varying lighting conditions at different altitudes.
- Color Grading: Enhance colors to make certain elements pop without losing natural tone.
- Perspective Correction: Use tools to adjust lens distortion typical in wide-angle drone shots.
Personal Anecdote: Learning from Experience
When I first started editing my drone photos, I often found the images flat and uninspiring. It wasn’t until I embraced advanced editing techniques like color grading and dodging and burning that my photos truly came to life, capturing the vibrant energy of the landscapes.
Actionable Tips for Beginners
- Start Simple: Focus on mastering basic adjustments like exposure and contrast before diving into complex edits.
- Leverage Presets: Use presets to streamline your workflow and develop a consistent style.
- Experiment: Don’t be afraid to try new techniques and styles to find what works best for your vision.
FAQ
What software do professionals use for drone photo editing?
Professionals often use Adobe Lightroom and Photoshop for comprehensive editing capabilities.
How can I improve the sharpness of my drone photos?
Use sharpening tools in your editing software and ensure your drone’s camera is well-calibrated.
Are there free options for editing drone photos?
Yes, GIMP and Darktable are popular free options that offer a range of editing tools.
Conclusion
Editing drone photos is an essential skill for anyone looking to elevate their aerial photography. By choosing the right software and applying effective editing techniques, you can transform ordinary shots into breathtaking works of art. Remember, practice and experimentation are key to developing your unique editing style. So grab your drone, start editing, and watch your photos soar to new heights. For more insights on drone photography, check out our resources page.